I won’t pretend to be an exhaustive resource for camera scanning film. There are many people in the global film community who have invested significant time and effort into producing great “How To” resources. Their work, synthesized below, is how I taught myself film scanning. I will share my workflow based on my own gear, which is also what I teach in my film development and scanning workshops. The basic principles are the same no matter what film holder and camera combination you select.
Before diving into the details, I want to mention a video series by Kyle McDougall that explains a workflow similar to mine. If you're a visual learner like me, it’s an excellent resource for anyone interested in the Valoi system. You can find his video here.
Pre-Setting and Aligning Your Film Scanning Setup
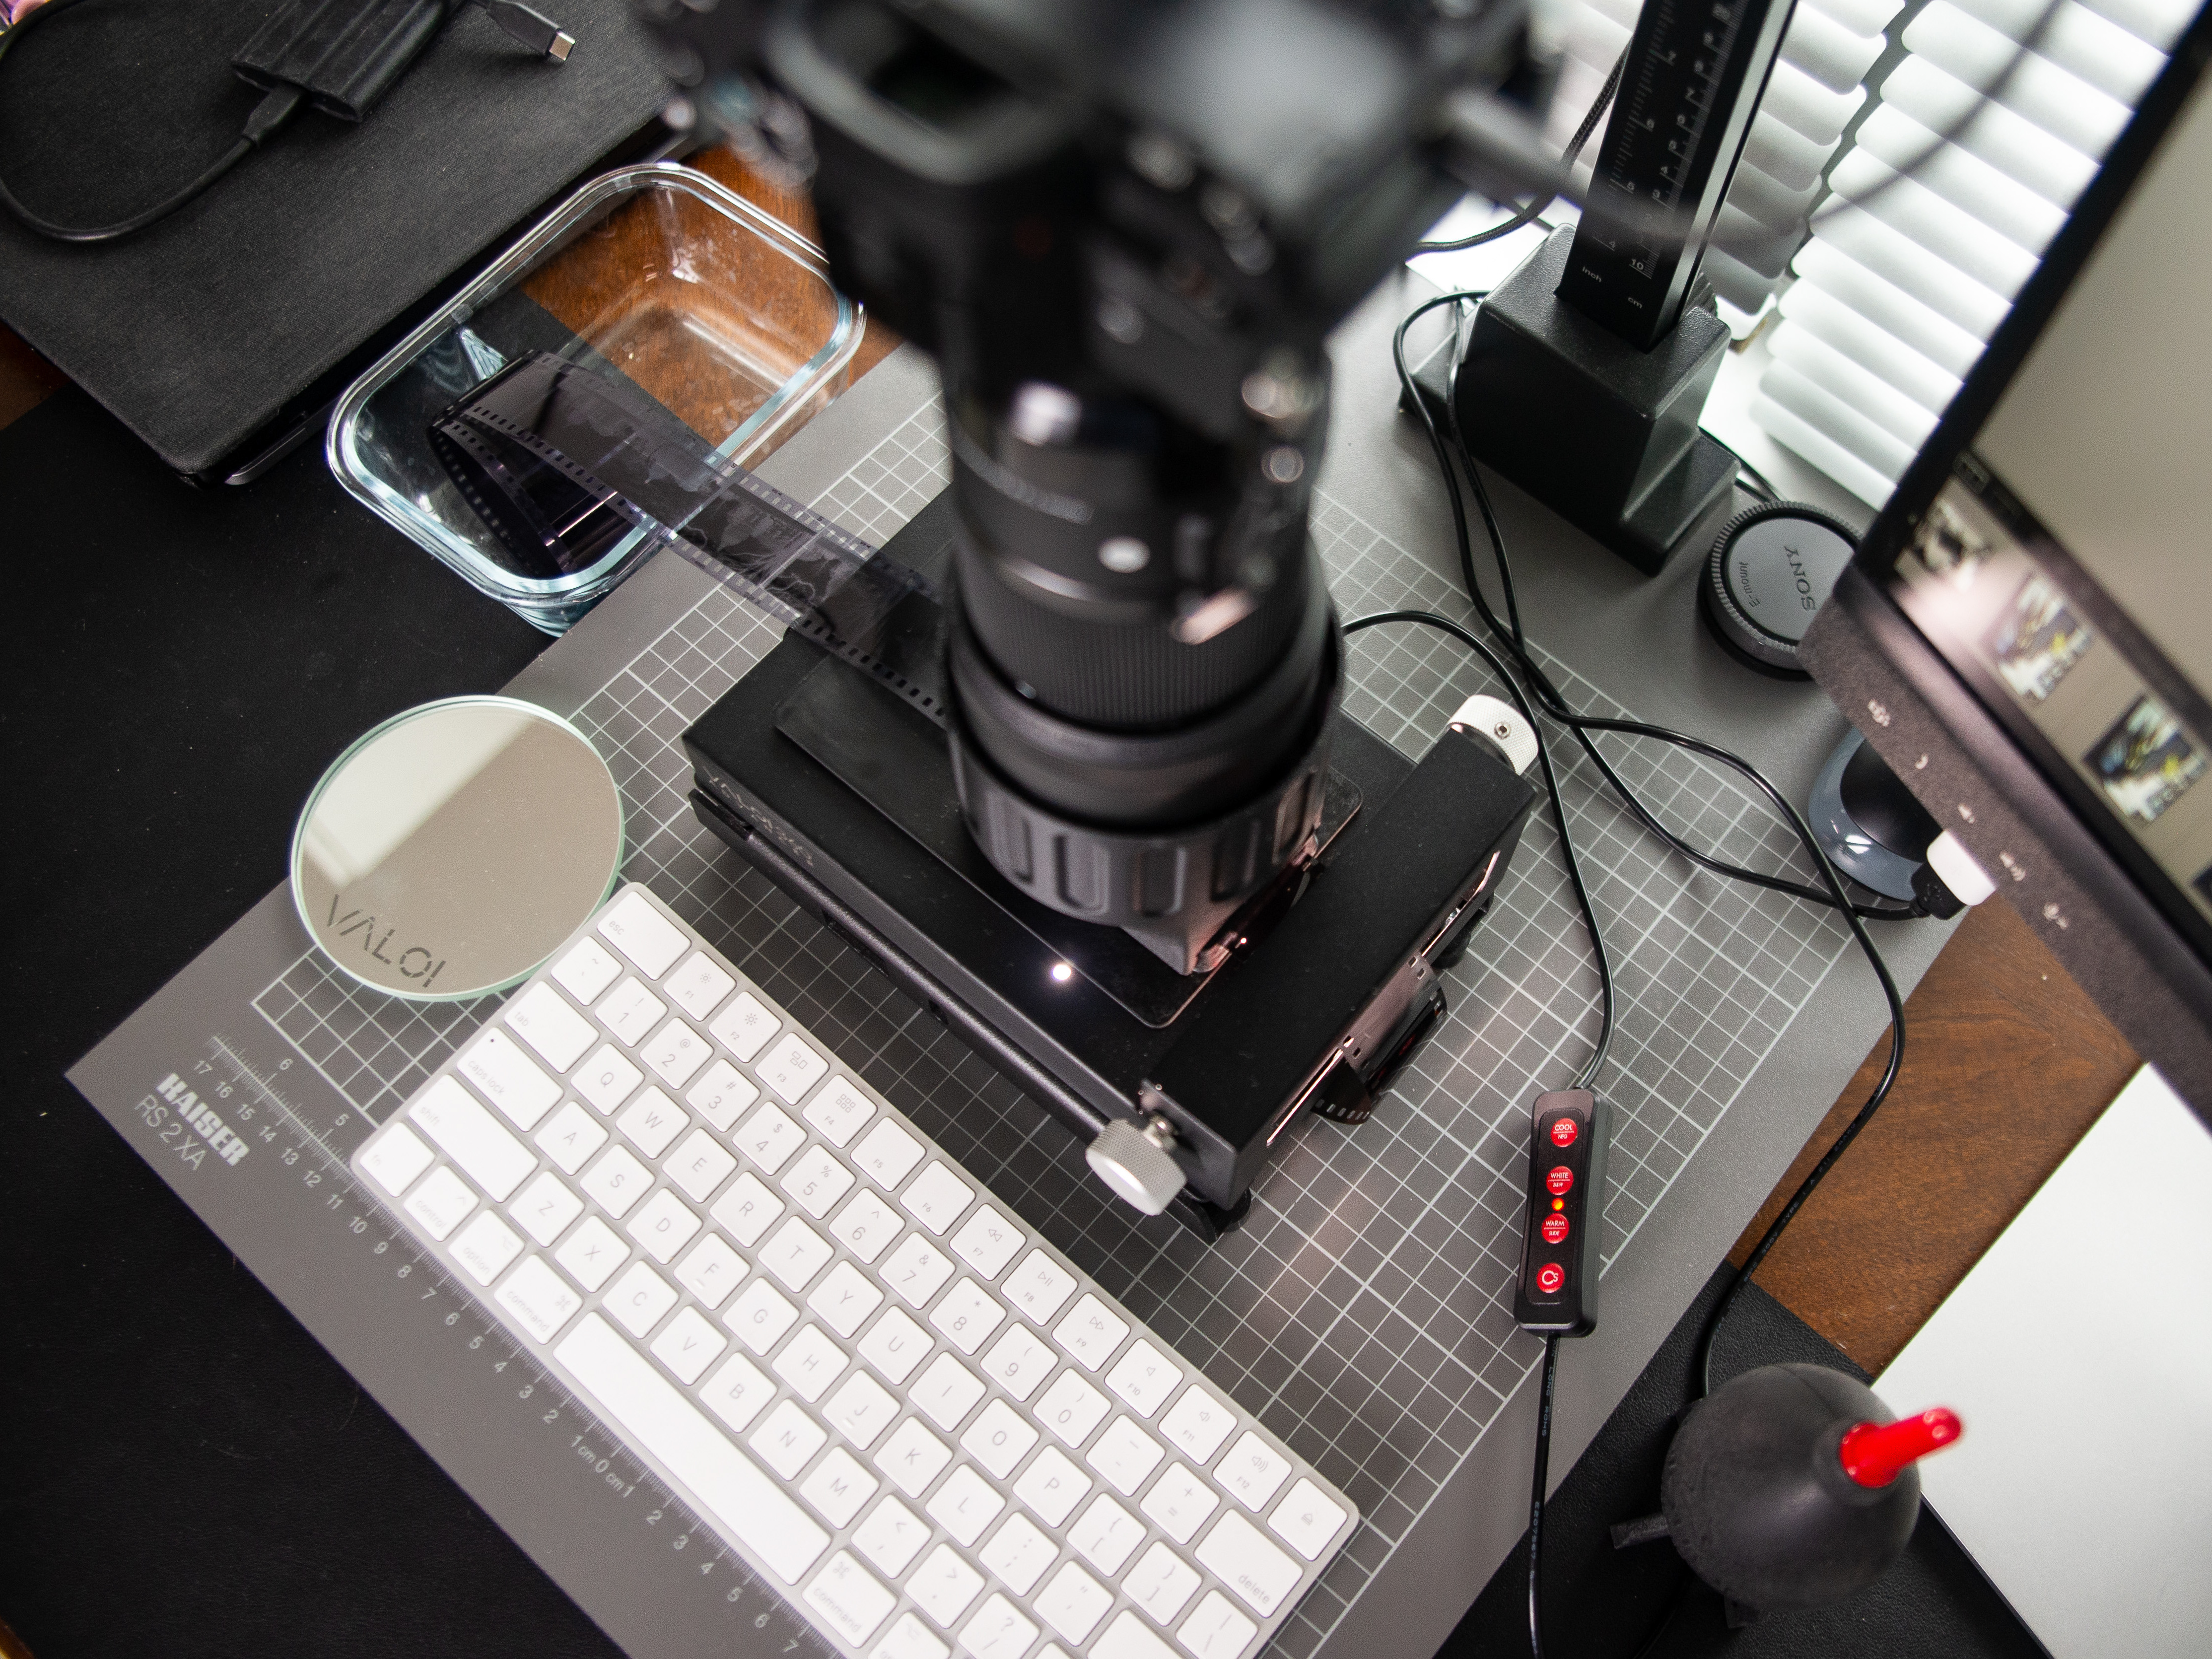
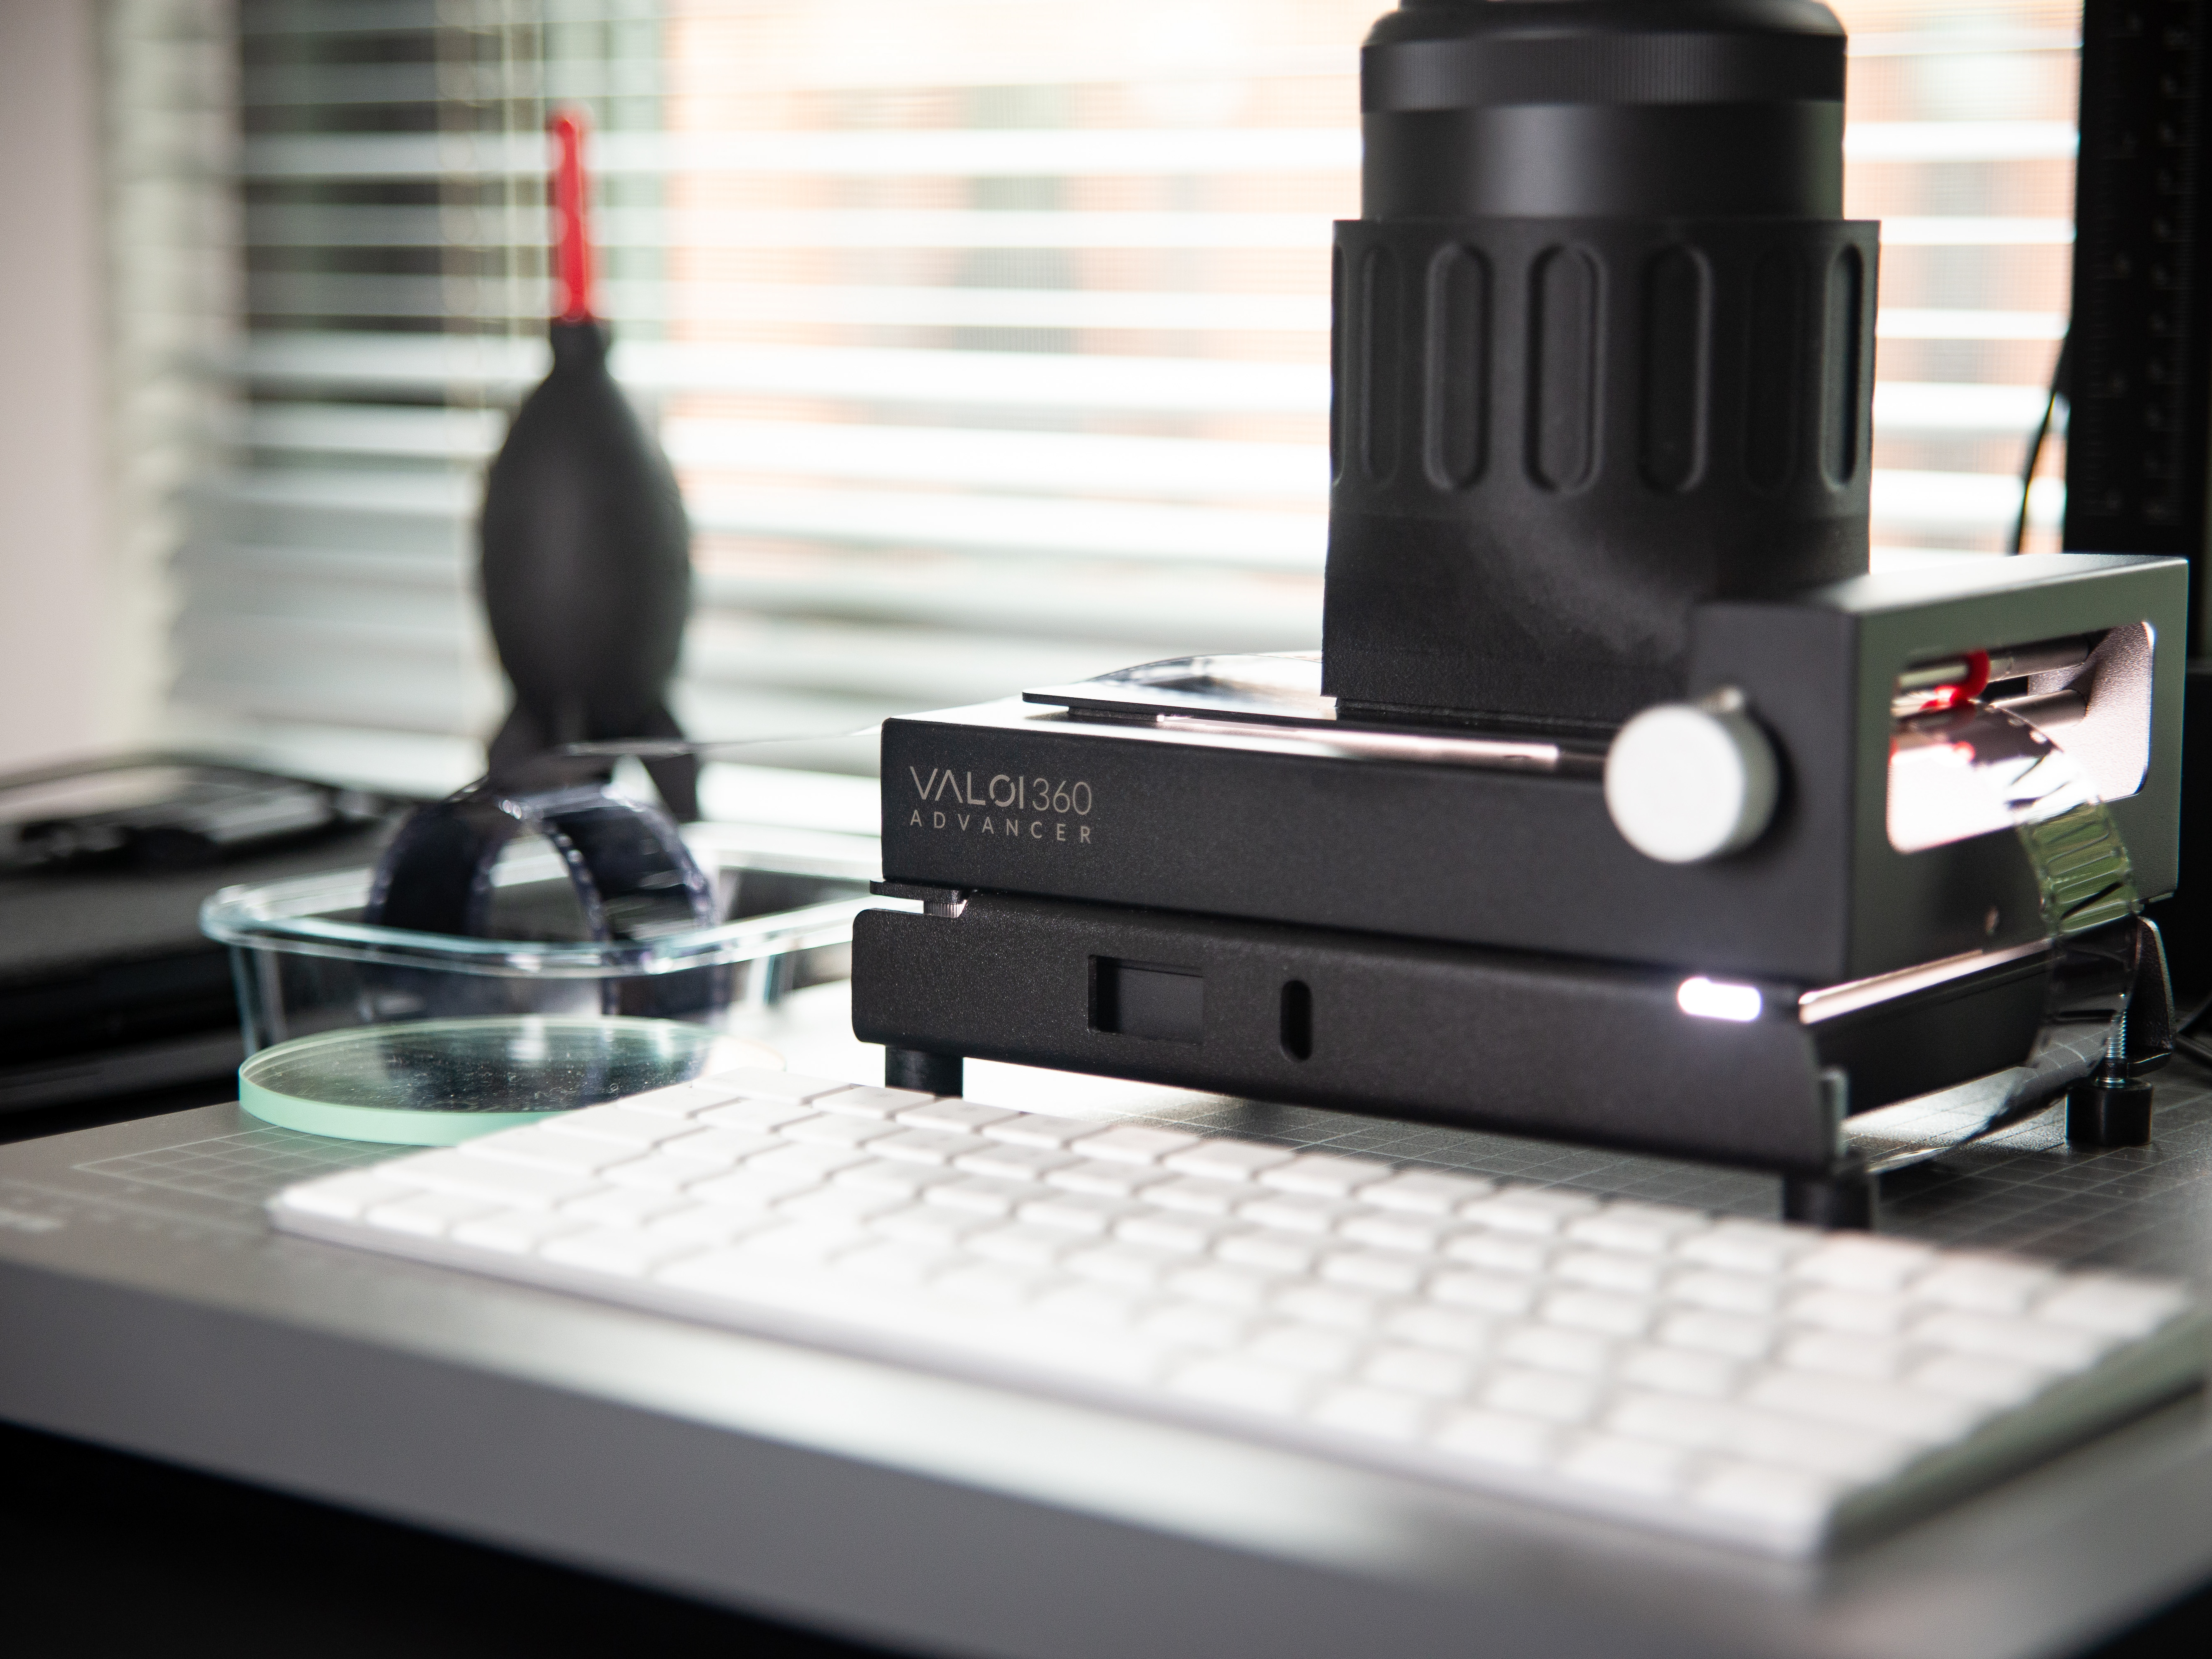
Once you’ve acquired your film scanning setup (in my case, the Valoi 360 Advancer), it’s time to find a place to set it up. Choose a clean spot on a desk or table, preferably in a room where you can control the lighting and have access to an outlet for your setup. Ensure you can turn off overhead lights and block window light to avoid reflections on your film surface. The spot should have space for your copy stand, film holder, and light source, along with staging areas for film rolls, a few containers, a bulb blower, and a laptop if you’re shooting tethered.
Living in an apartment without a dedicated office space, I usually set up on my kitchen table after cleaning it thoroughly and ensuring no meals are imminent.
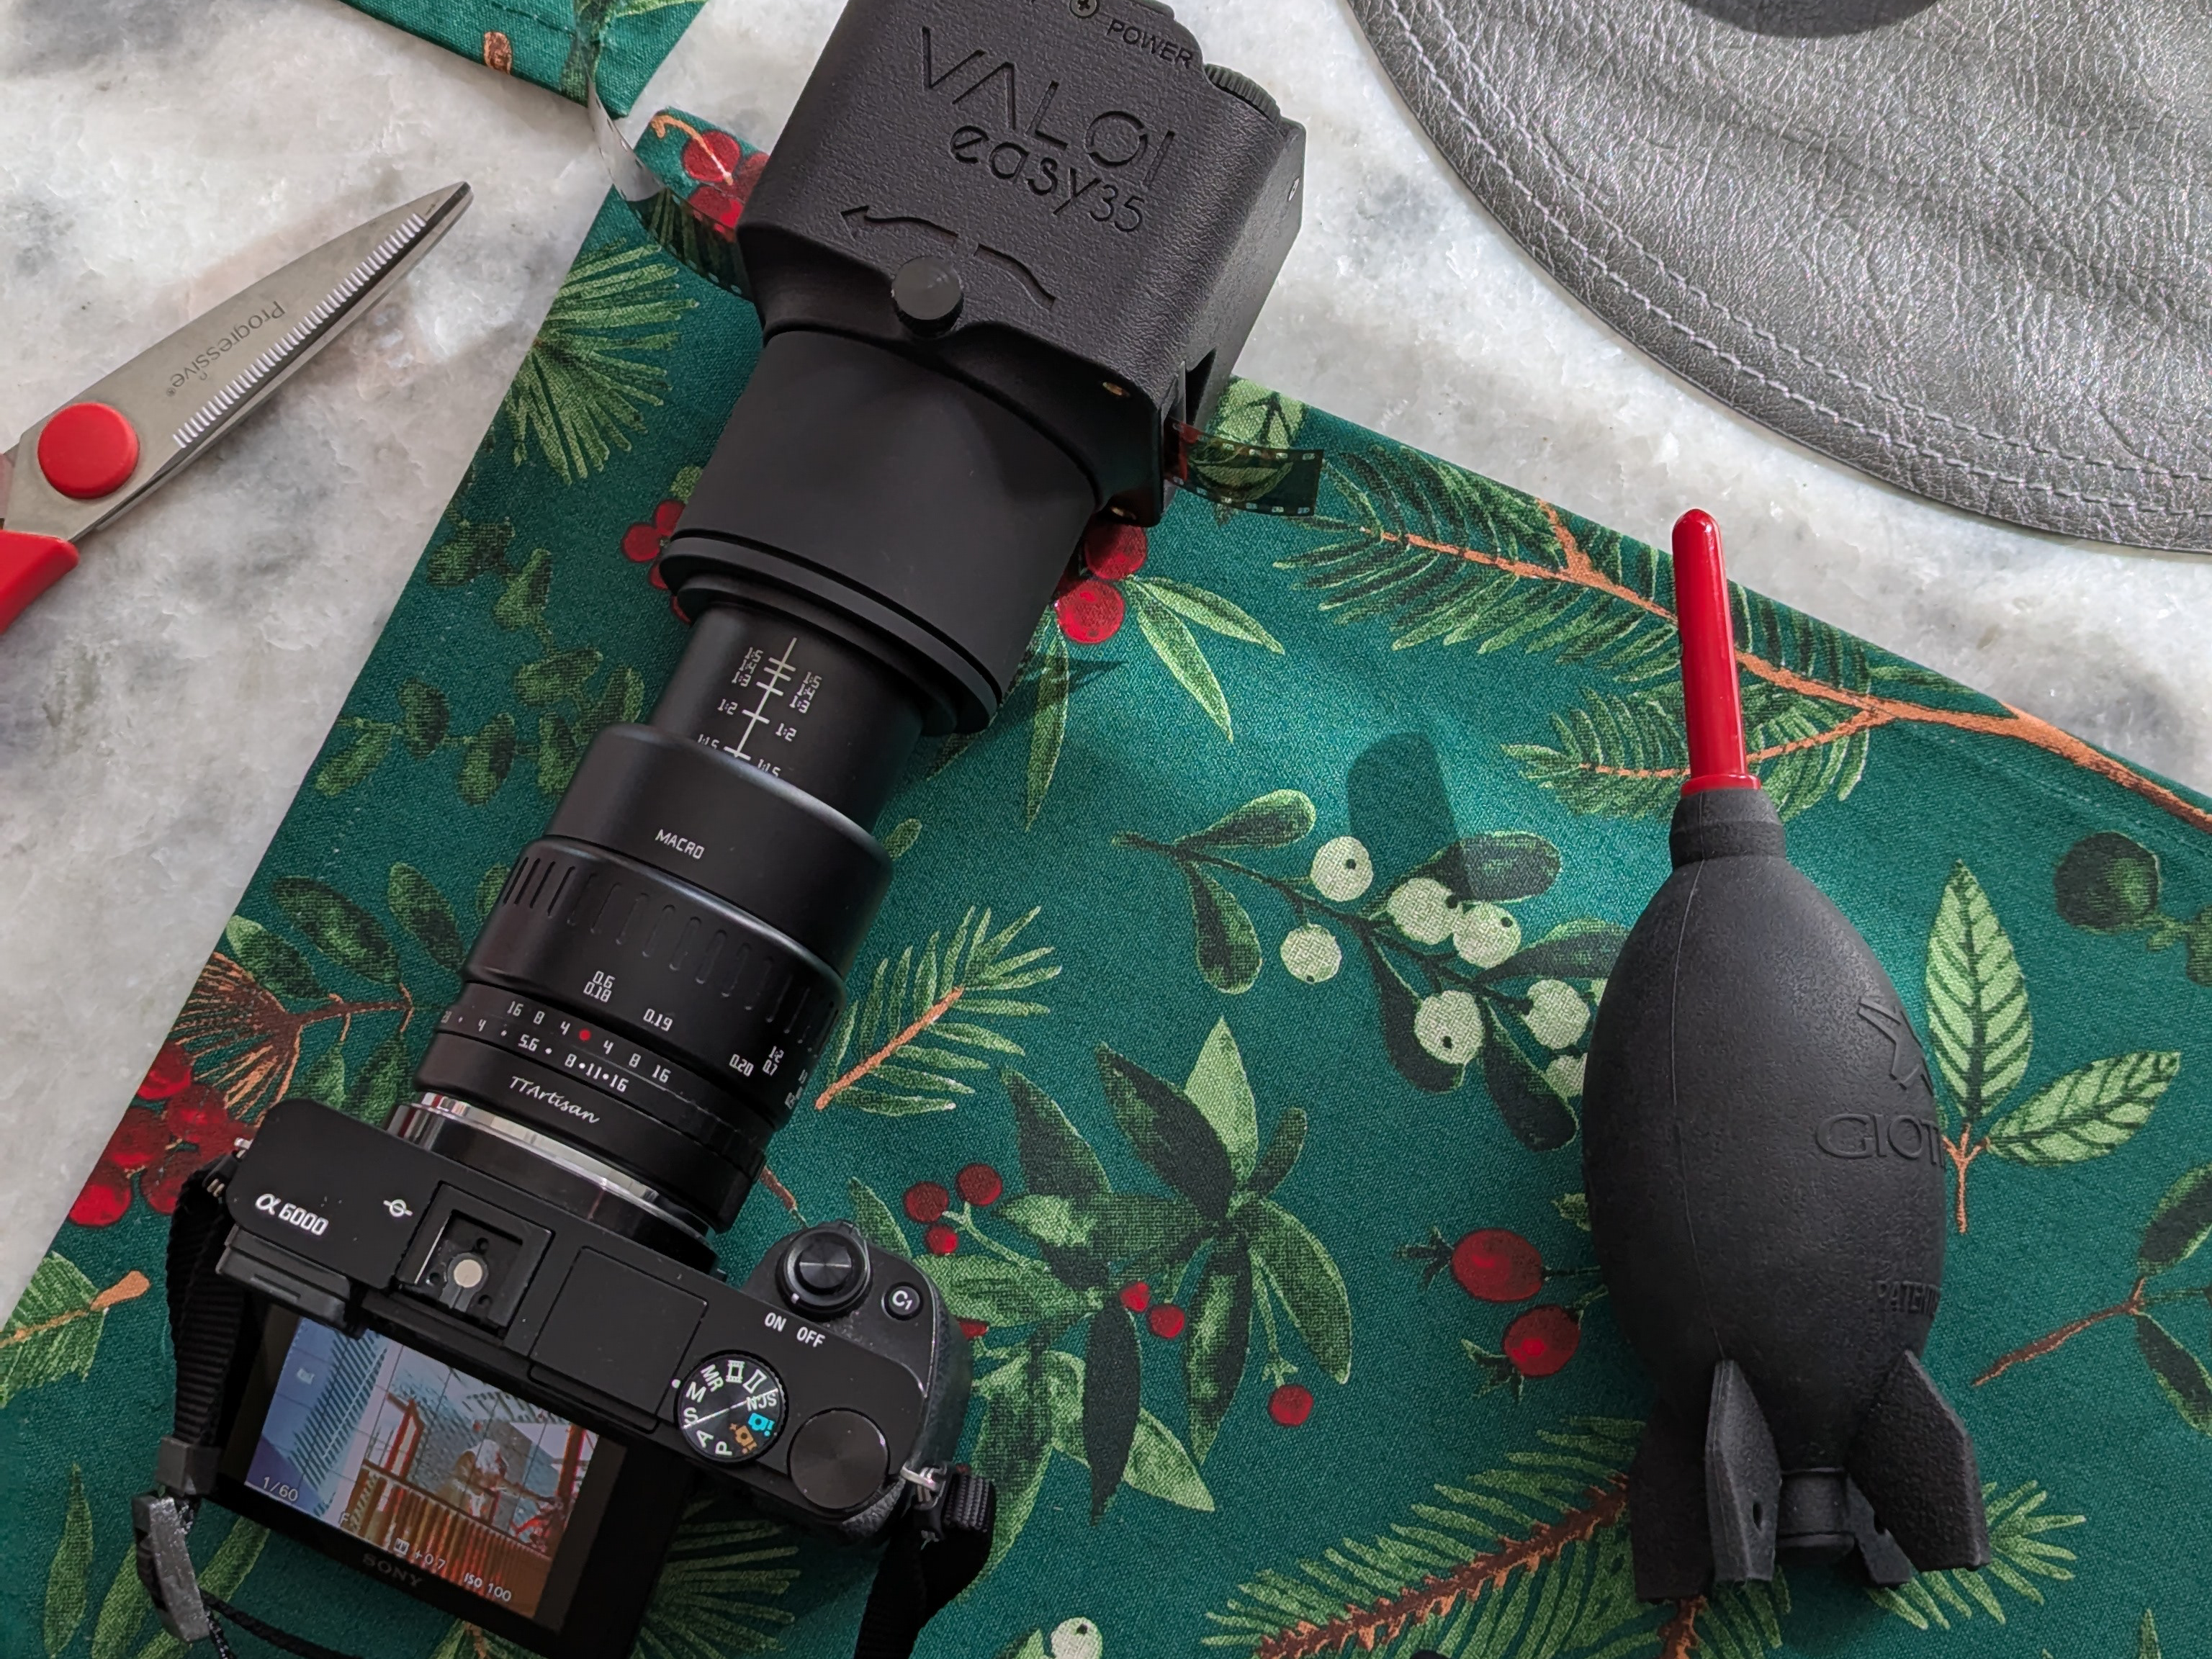
Before assembling your setup, verify that your camera has a good charge or power source. Check that your camera sensor and macro lens are free of dust or oils. Set your image quality to the highest resolution desired and ensure your camera records RAW images. I generally shoot with a 20- or 24-megapixel RAW + JPEG format because I often forget to switch my camera to RAW only before scanning.
For the Valoi 360 system (and similar systems), start by roughly setting up your copy stand, camera, film holder, and light source. Align the camera aperture with the center of the film frame and roughly focus on the film, working to get your height and relative positioning set. Use a spare strip of negatives to refine alignment and focus on the film grain. Adjust the camera height to capture the full film frame, leaving a small border if desired or cropping tighter for higher resolution.
To ensure the camera is parallel to the film plane, use one of two methods:
Bubble Level: Place a bubble level on both the camera and the film holder to verify they are level. If both are level, they're aligned.
Mirror Method: Place a small, flat mirror on the film holder and align the reflected image of the camera’s aperture with the center of the screen or viewfinder. Valoi offers a flat mirror for this purpose. I find the mirror method easiest, and it is the most surefire way to guarantee your camera is fully aligned.
Once aligned, you’re ready to prepare your film for scanning.
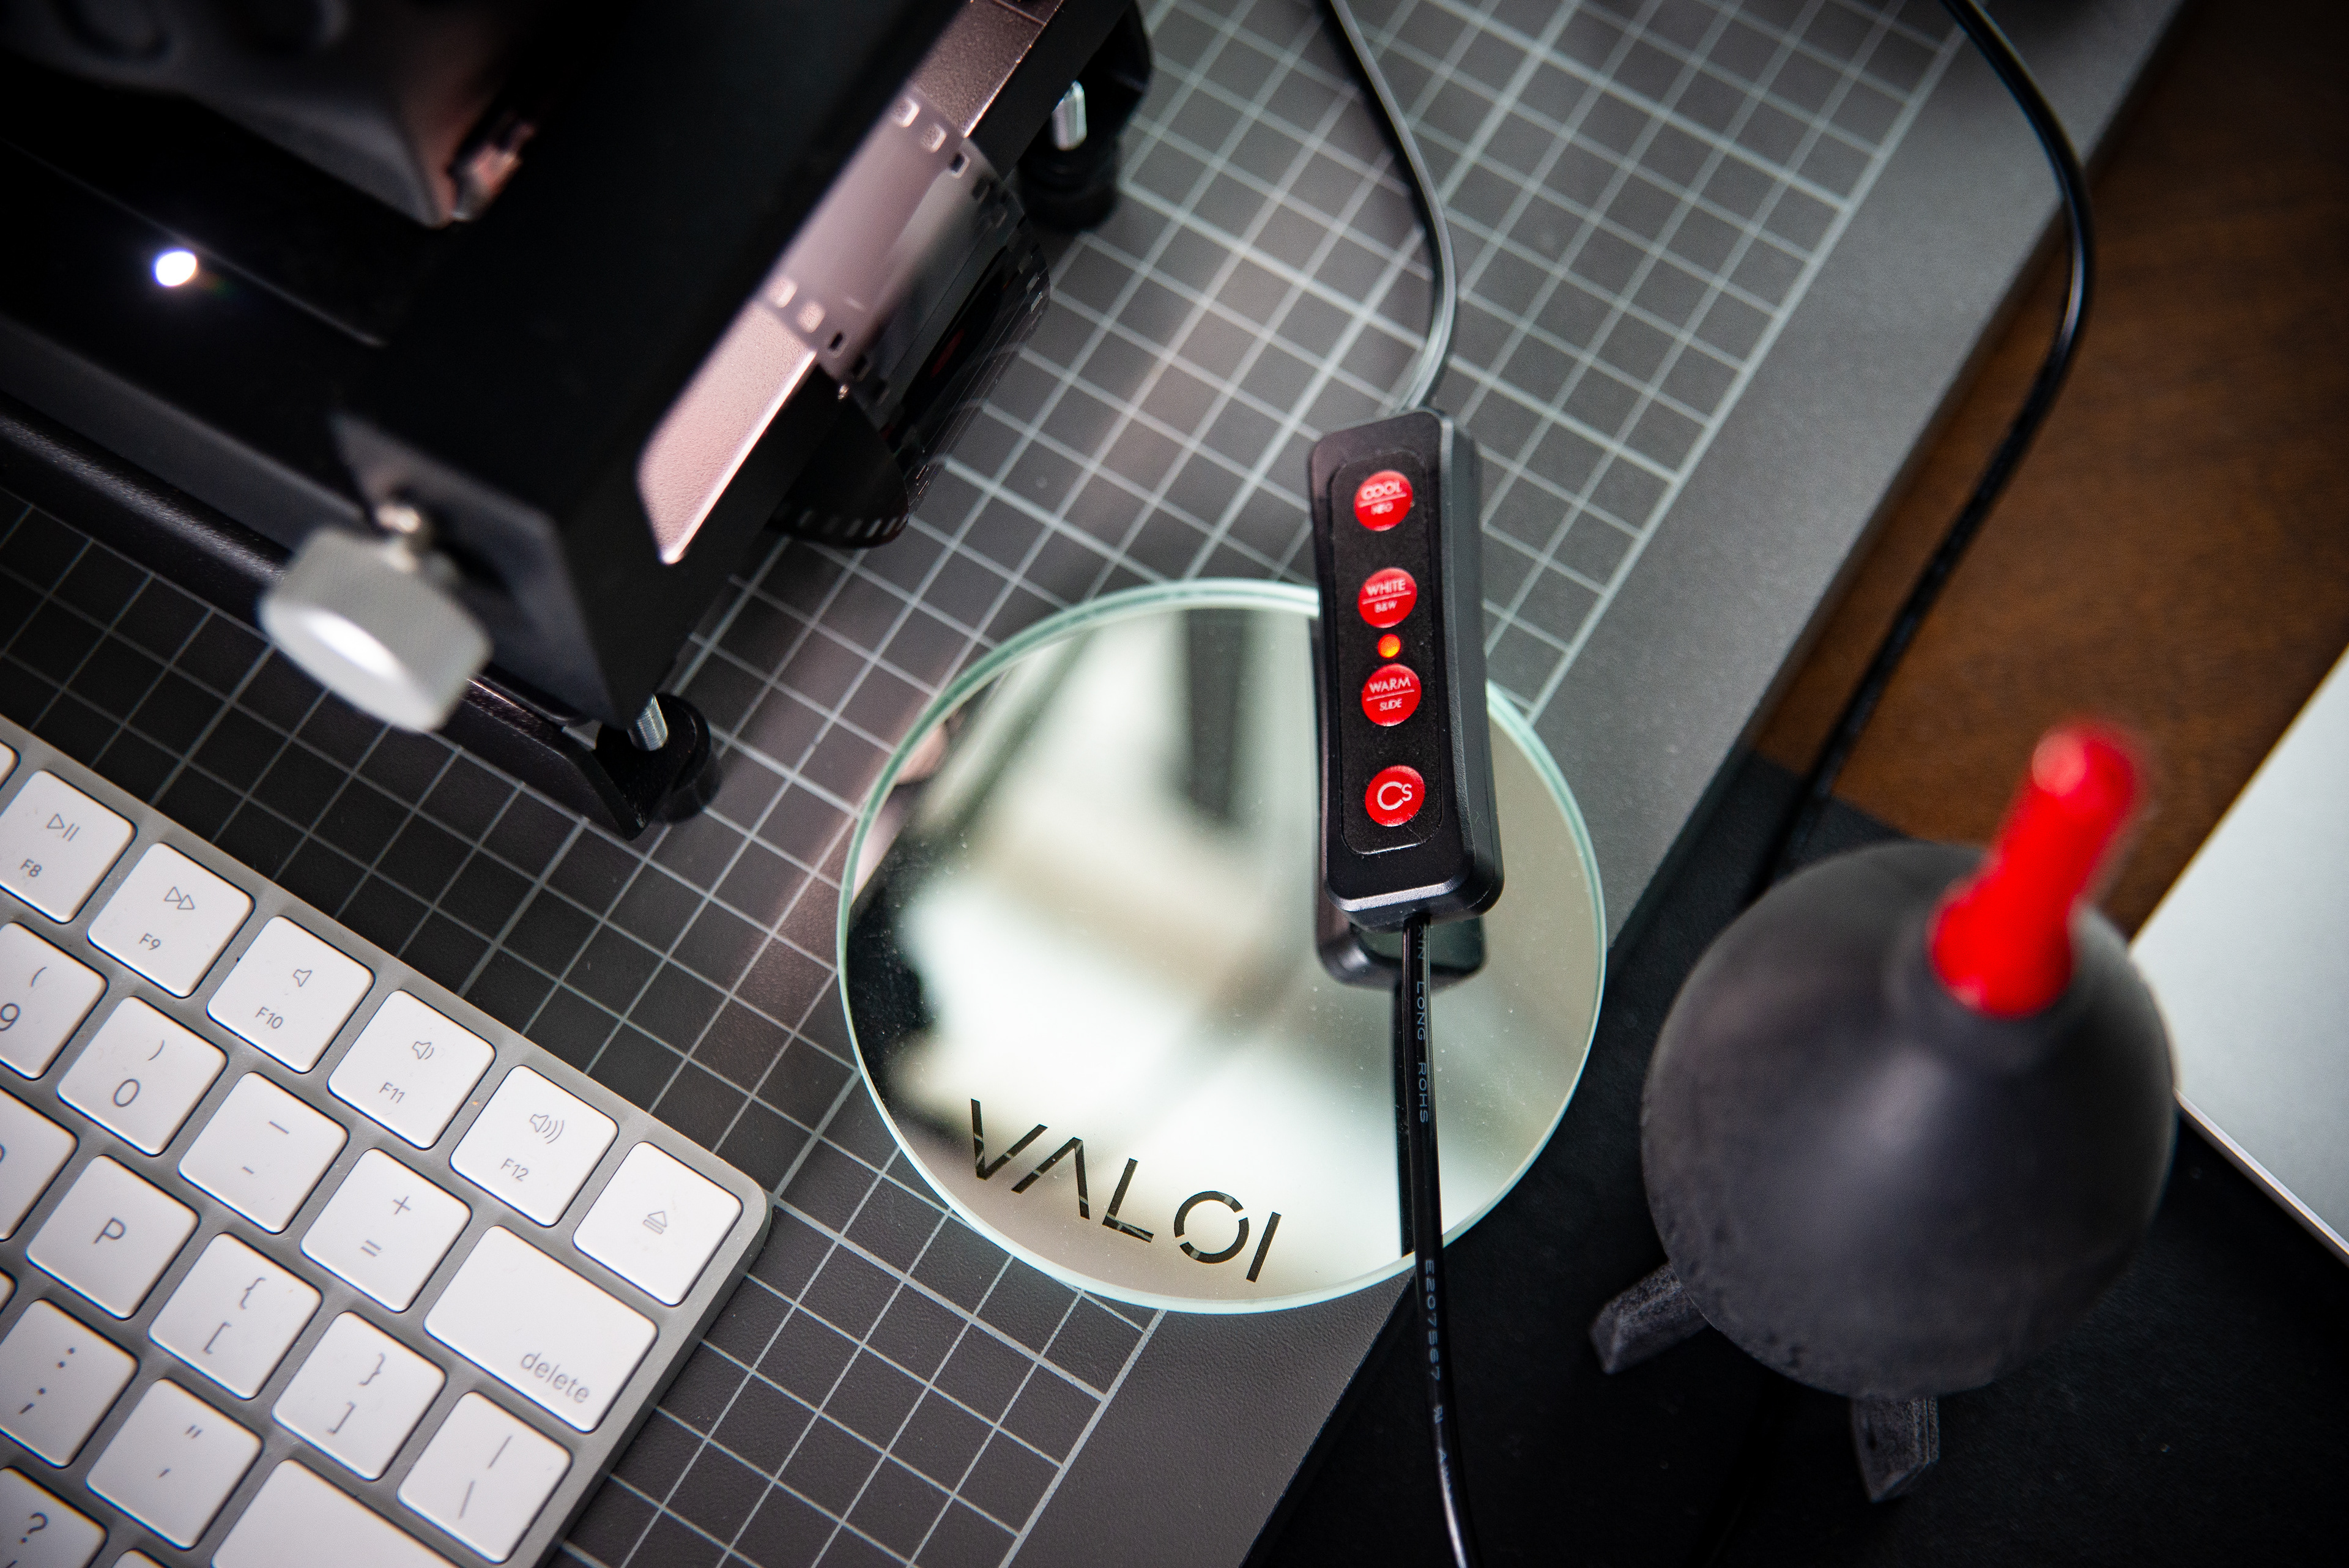
A close up view of my film scanning accessories. I've paired the Valoi 360 system with a Cinestill CS Lite. I use Valoi's leveling mirror and a fantastic Kaiser RS 2 XA stand to keep everything level and wobble-free. The old standby Giottos Rocket Blower helps keep everything dust-free.
Preparing Your Film for Scanning: Keep It Clean
The most important step is ensuring your film is clean, dry, and dust-free. Unlike professional film labs and some flatbed scanners, cameras lack automatic dust removal systems (like Digital ICE). While software for dust removal has improved, keeping your film clean will save hours in post-production.
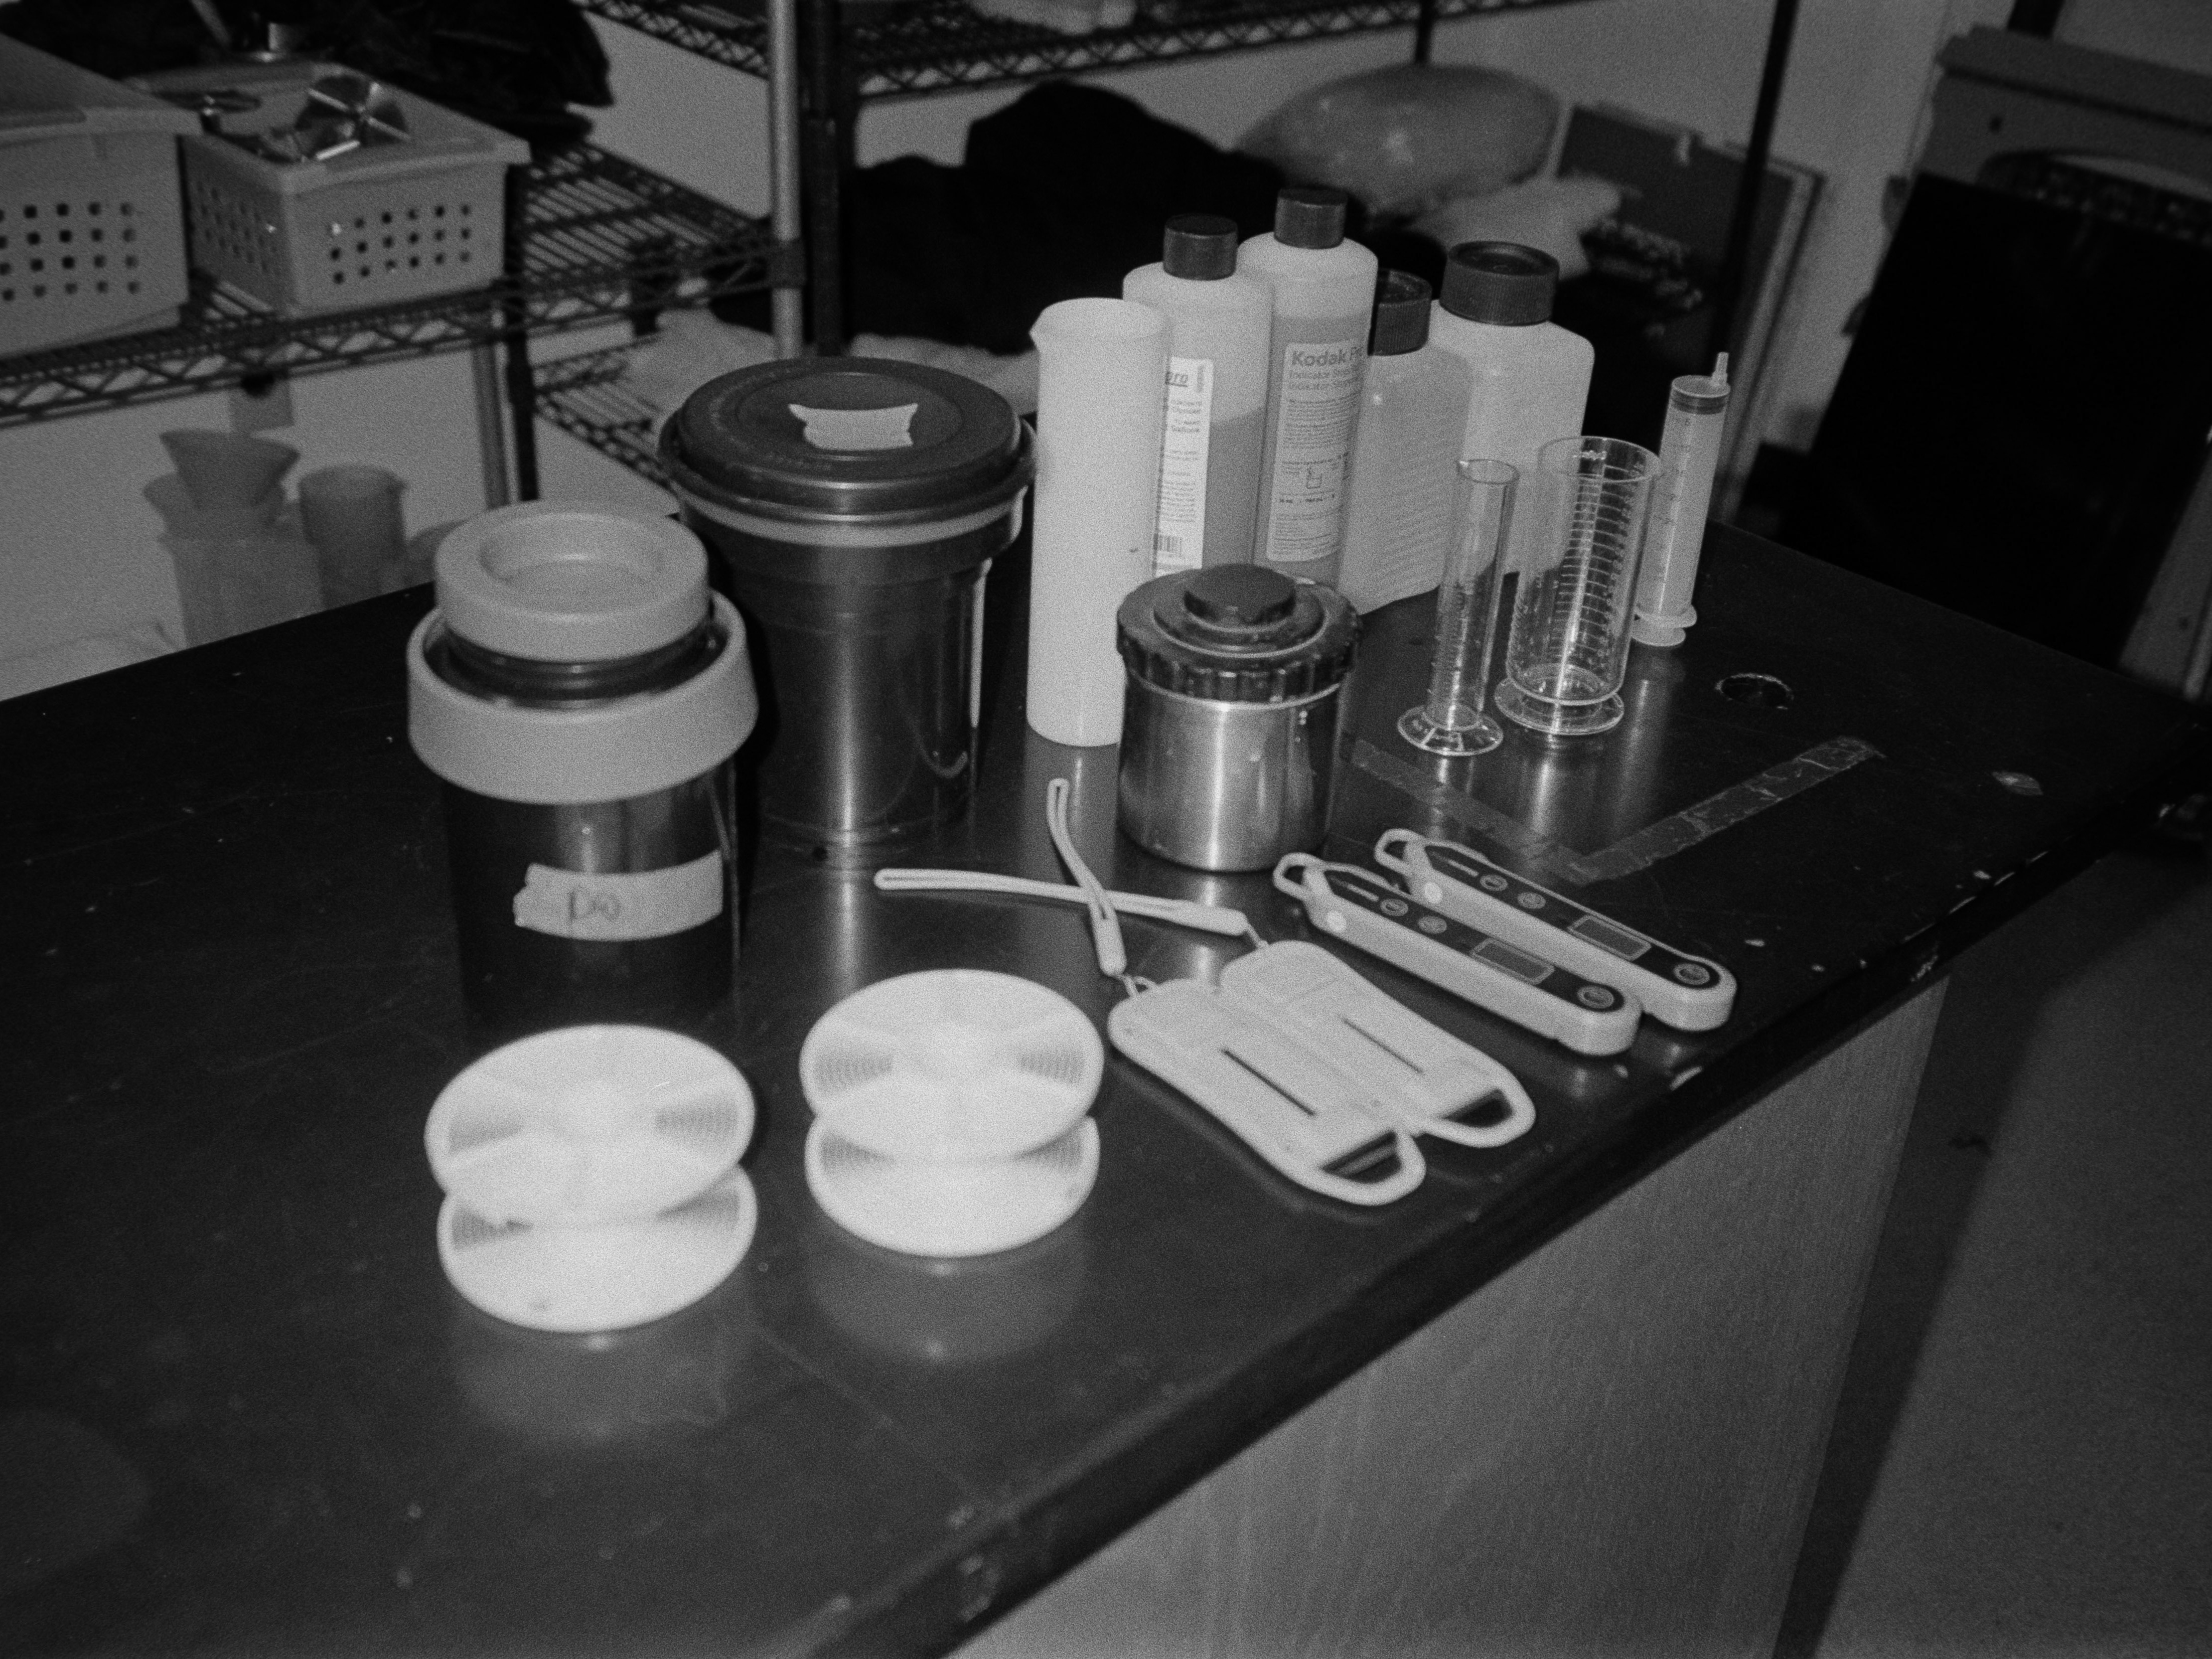
Scan your film as soon after developing as possible. If that’s not feasible, store negatives in an airtight container until you’re ready. Use a blower to remove dust before scanning. I keep a clean container for storing selected rolls and another for holding scanned film.
Pulling Focus and Setting Your Aperture, Shutter Speed, and ISO
Once your film is in the holder and aligned, it’s time to finalize your camera settings. For consistent results across a roll, set your camera to manual (M) mode. Then proceed through the following steps:
Pull Focus: Position a developed frame under the lens and use Live View to focus on the film grain. Punch in as far as your digital zoom will allow. Start with the widest aperture (e.g., f/2.8) for a shallow depth of field, then fine-tune focus by maximizing the contrast of the film grain.
Set Aperture: Once focus is sharp, stop down to around f/8 to increase depth of field and ensure the entire film plane is in focus.
Adjust Exposure: Set ISO to 100 or 200 for maximum dynamic range, then adjust shutter speed to achieve proper exposure. Highlights on the negative should appear just off-white or gray, and shadows should be close to black. Use your camera’s histogram to confirm.
Take a test shot and review focus and exposure. Once satisfied, begin scanning the roll.
Scanning Film
This is the easiest part, especially with the Valoi 360 system. Advance the film one frame at a time, ensuring consistent placement and allowing the shutter release to complete before moving to the next frame. Periodically check focus to ensure it remains sharp, especially at the start and end of a roll. If focus drifts, rescan affected frames.
Camera scanning is a meticulous process, but with practice and attention to detail, you can achieve high-quality results very quickly. I highly recommend checking out YouTube and Reddit for additional insights and tips.